How to Make a Die-Cut Sticker from a Photo: a Real Pet Sticker Test
Custom pet stickers are one of the most requested sticker jobs on craft marketplaces. We made three from ordinary photos to see what a print-ready file looks like, and what goes wrong.
Quick answer: drop the photo into the die-cut sticker maker, keep the 1/8 inch white border, pick the print size, and download the transparent PNG. It is saved at 300 DPI, ready for a print shop or Cricut Print Then Cut. Use a photo where the whole animal is in frame; a body that leaves the photo turns into a flat sticker edge.
What we ran
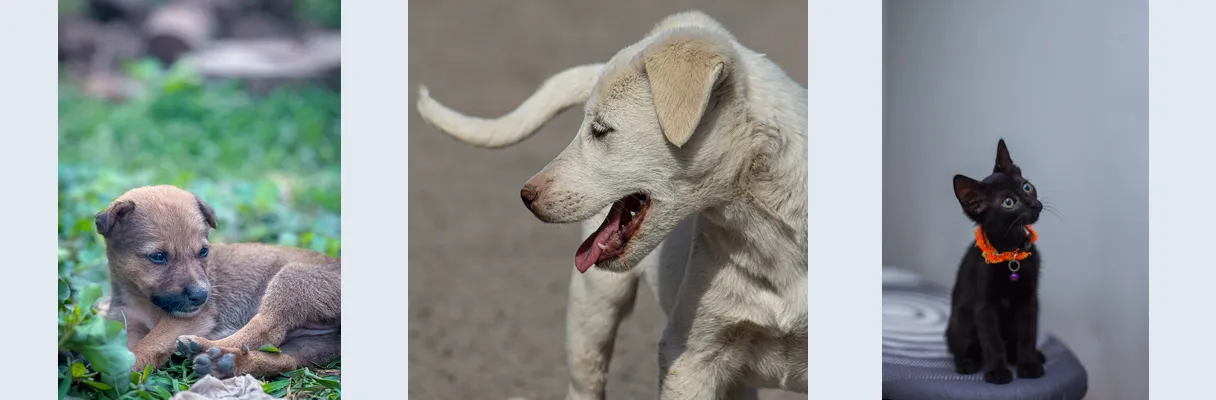
Three pet photos from Pexels: a puppy lying on grass, a white dog photographed close up with its body running out of the frame, and a black kitten with an orange collar on a plain backdrop. All three went into the sticker maker together, in Chrome on a Mac.
- Settings: medium border (1/8 inch), white, 3 inch print size, which is 900 pixels on the longest side at 300 DPI.
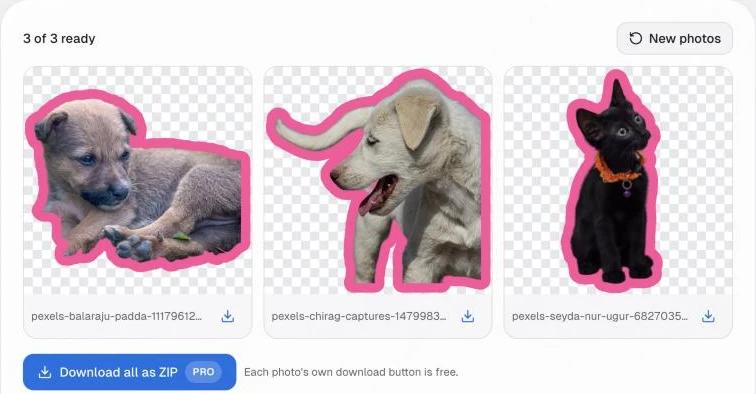
- We downloaded each PNG, then repeated with the thin cut line on, a thick border, a pink border, no border, and the 6 inch size.
- We opened every file to check its pixel size, the DPI stored in it, and the transparency around the border.
The result
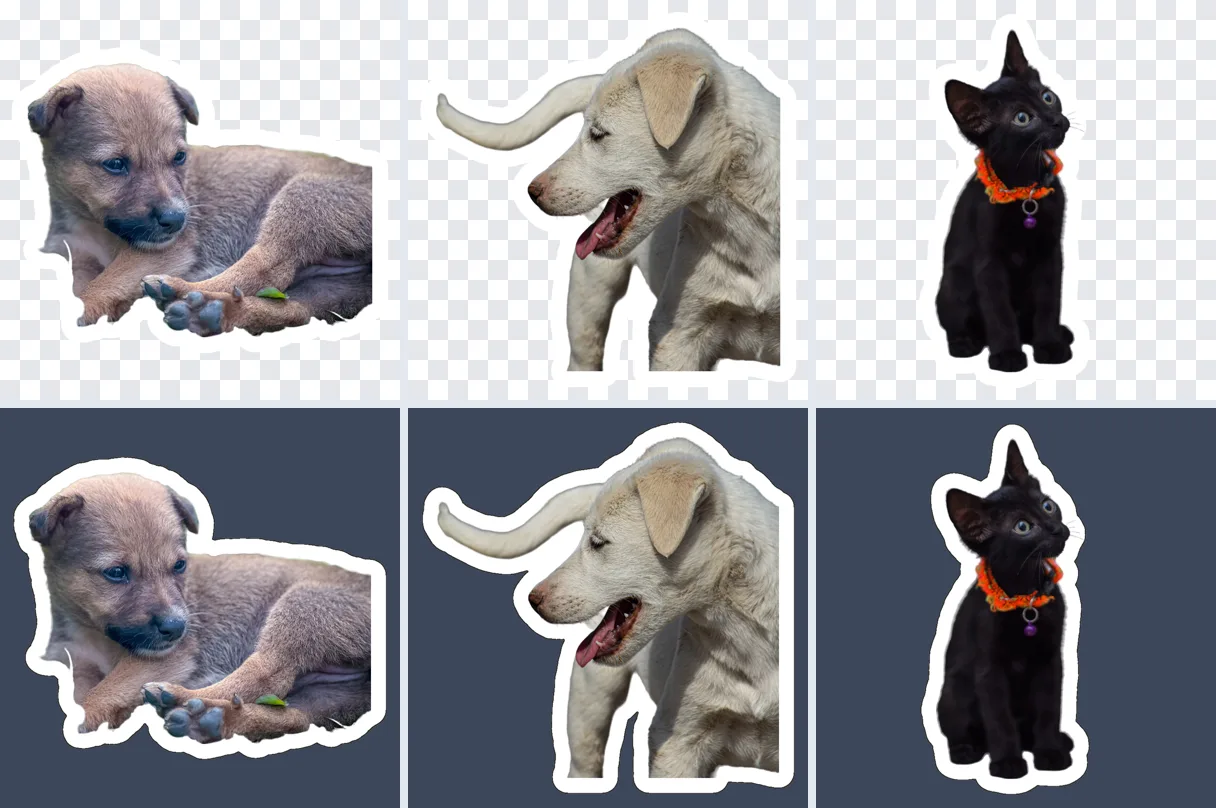
- The border is even all the way round, with rounded corners, the way a cutting machine's offset looks. Gaps narrower than the border close up, and any fully enclosed hole is filled, so the outline is one closed shape. The wider gap between the white dog's legs stays open and the border follows it.
- Sizes are exact. At 3 inches the long side of every file is 900 pixels (900 × 734, 900 × 897 and 466 × 900); at 6 inches it is 1800. Every PNG reports 300 DPI when opened in an image editor.
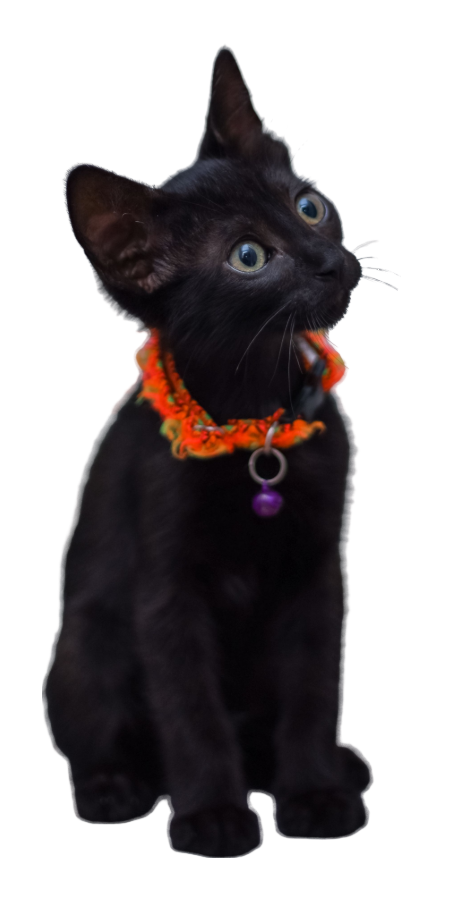
- Everything outside the border is transparent. Download the kitten sticker PNG and check it yourself.
- Border colour is a single swatch. Pink, black or your brand colour work the same way as white.
What to watch for
A subject that leaves the photo becomes a flat edge
The white dog's body runs off the bottom and right of the original, and the puppy's back runs off the right. The cut-out can only follow what is in the picture, so both stickers have straight sides where the photo ended. On a sticker that looks like a mistake. The kitten, photographed with space around it, came out as a clean silhouette. For pet stickers, ask the customer for a photo with the whole animal in it.
Small things next to the subject can stay
The puppy kept a small green leaf by its paw: it touched the paw, so it was treated as part of the subject. Isolated specks are dropped automatically; things touching the subject are not. Check each sticker at full size before you print a sheet.
The cut line is for scissors, not machines
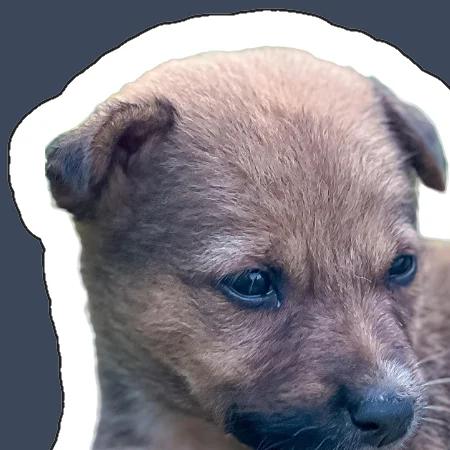
The thin dark line marks where to cut by hand. A cutting machine traces the PNG's transparent edge on its own, so for Cricut or Silhouette leave it off; otherwise a slight cut drift shows a dark sliver on the finished sticker.
Settings that work for print
- Border: 1/8 inch for most stickers; 3/16 inch for small stickers or designs with thin spikes, which a blade struggles to follow.
- Size: pick the real size you will print. The file is that many inches at 300 DPI, so a 6 inch sticker needs an original with about 1800 pixels across the subject; the tool warns you when it had to enlarge.
- Print Then Cut: print at 100% with no "fit to page". The maximum size depends on your machine and paper; Cricut lists it in How large can I Print Then Cut?.
- For a shop listing, put the sticker on a product with the mockup generator; for apparel instead of stickers, see removing a background for a T-shirt design.
Free vs Pro
Every border, colour, size and the cut line are free, for one sticker or up to 40 per run, with no watermark and a download button on each. Pro ($29.90/year or $49.90 once for life) is for sheet-sized jobs: up to 200 designs per run and one ZIP of every PNG. See the pricing page, or background removal for print on demand for the wider workflow.
Frequently asked questions
How do I turn a photo into a die-cut sticker?
Drop the photo into the sticker maker, choose a border (1/8 inch is the usual die-cut offset) and a print size, and download the PNG. The tool cuts out the subject, grows an even border around it, fills the gaps inside the outline and saves a transparent PNG at 300 DPI.
What resolution does a sticker file need?
Print shops generally ask for 300 DPI at the final size. A 3 inch sticker is 900 pixels on its longest side at 300 DPI; a 6 inch one is 1800. The tool stores 300 DPI in the PNG and tells you if your original was too small for the size you picked.
Can I use the PNG with Cricut Print Then Cut?
Yes. Upload it to Design Space as a Print Then Cut image; the machine cuts around the transparent edge, and the white border gives it room for small print-to-cut drift. The largest printable area depends on your machine and page size, so check Cricut’s table, and print at 100% scale.
Why does my sticker have a flat, straight edge?
Because the subject ran off the edge of the original photo. The cut-out can only follow what is in the picture, so a dog whose body leaves the frame becomes a sticker with a straight side. Use a photo with the whole subject in frame and some space around it.
How many stickers can I make for free?
One or a batch of up to 40 per run, with no watermark, and as many runs as you like. Pro ($29.90/year or $49.90 once for life) runs up to 200 at once and downloads every PNG in one ZIP.
Make one sticker first, check it at full size, then drop the rest.
Make a die-cut sticker